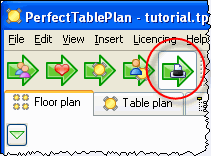
The final step is to print and/or export your table plan. Click on
the ![]() Print
button in the Task tool bar.
Print
button in the Task tool bar.

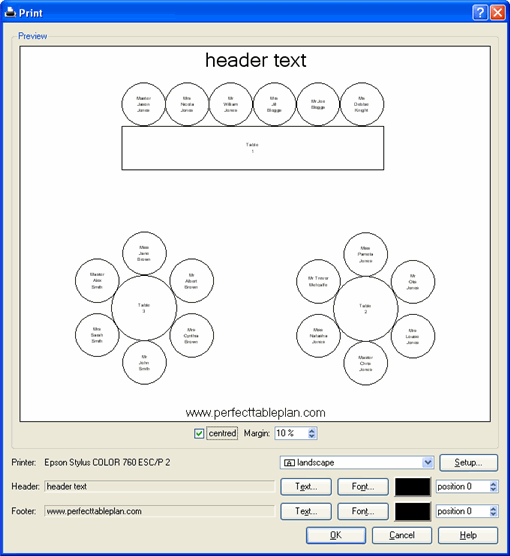
Select File|![]() Print
or the equivalent Main tool
bar button to print the front tab in the Top
pane. The Print window will appear.
Print
or the equivalent Main tool
bar button to print the front tab in the Top
pane. The Print window will appear.

You can add a text header and/or footer and change printer settings, for example to select the printer (if more than one is available), paper size, print resolution etc. The controls available on the Windows will depend on the pane you are printing and whether you are on Windows or MacOSX. Click on the OK button to print.
Print the ![]() Floor
plan pane to see the overall layout of the tables and guests.
Floor
plan pane to see the overall layout of the tables and guests.
Print the ![]() Table
plan pane for details of individual tables.
Table
plan pane for details of individual tables.
Print the ![]() Table chart pane to see
your plan ordered by table.
Table chart pane to see
your plan ordered by table.
Print the ![]() Guest
chart pane to see your
plan ordered by guest (sorted by their last name).
Guest
chart pane to see your
plan ordered by guest (sorted by their last name).
Print the ![]() Statistics
pane for an overview of
numbers at your event.
Statistics
pane for an overview of
numbers at your event.
You can copy the contents of the ![]() Floor plan,
Floor plan, ![]() Table
plan,
Table
plan, ![]() Table chart,
Table chart, ![]() Guest
chart or
Guest
chart or ![]() Statistics
panes into the clipboard using Edit|
Statistics
panes into the clipboard using Edit|![]() Copy,
for example to paste into Microsoft Word or Excel.
Copy,
for example to paste into Microsoft Word or Excel.
You can also export these panes using File|![]() Export,
for example to email or put on a web page. You can also use File|
Export,
for example to email or put on a web page. You can also use File|![]() Export|Guest data to input into another application, for
example Microsoft
Word.
Export|Guest data to input into another application, for
example Microsoft
Word.
Save your plan using ![]() Save
before exiting. You have now completed the tutorial.
Save
before exiting. You have now completed the tutorial.
If you wish to switch back to the expert user interface select View|User interface|Expert .
Note You can only save, print or export plans with more than 30 guests if you have a valid licence for the software.
Next: Main window >>