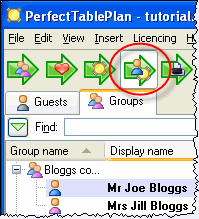
The next step is to assign guests to seats. Click on the ![]() Assign
seats button in the Task
tool bar.
Assign
seats button in the Task
tool bar.
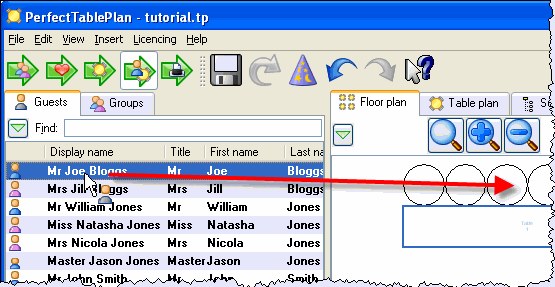
Left click on the ![]() icon for Mr Joe Bloggs in
the Guests pane. Drag him
(hold down the mouse button, move the mouse and then release) to a
seat on the head table in the Floor Plan pane.
icon for Mr Joe Bloggs in
the Guests pane. Drag him
(hold down the mouse button, move the mouse and then release) to a
seat on the head table in the Floor Plan pane.
Right click on the seat you have dragged Mr Joe Bloggs to in the Floor plan pane and select locked.
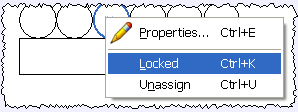
A locked guest cannot be re-assigned until they have been unlocked.
This is particularly useful for stopping the ![]() Automatic
layout from moving guests who you wish to remain in their
assigned seat. You can also select a table and lock all the guests on it.
Automatic
layout from moving guests who you wish to remain in their
assigned seat. You can also select a table and lock all the guests on it.
Drag Mrs Jill Bloggs to the next seat to Mr Joe Bloggs and lock her, in the same way.
Now that you have assigned your VIPs, you are going to assign the rest of the guests automatically.
Click on the ![]() Automatic
layout button in the Main
tool bar. The Auto layout
window will appear:
Automatic
layout button in the Main
tool bar. The Auto layout
window will appear:
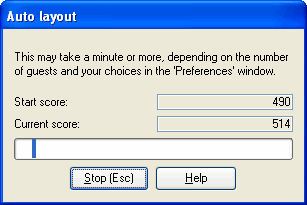
The Auto layout window should disappear after a few seconds. If you look at the Floor plan pane you should see that all seats now have guests assigned. If you hover the mouse cursor over a seat the details of the guest assigned will be displayed:
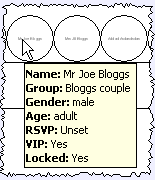
Notice that the locked guests have not been moved and that guests that are assigned to seats are no longer displayed in bold in the Guests and Groups pane.
You can customise the layout by dragging guests between seats. If you drag a guest to a seat occupied by another guest they will swap seats.
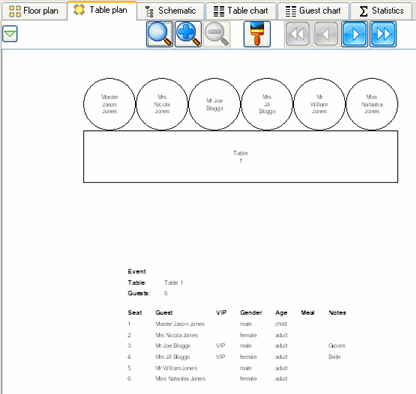
You may wish to use the ![]() Table
plan pane, which displays just one table at a time with an
optional legend. Use the
Table
plan pane, which displays just one table at a time with an
optional legend. Use the ![]()
![]()
![]()
![]() navigation buttons to change table.
navigation buttons to change table.
Next: 6. Assess plan >>