Note You can also view this tutorial as a movie on our website. The tutorial is also on your CD, if you purchased one.
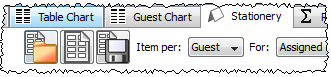
You can use the ![]() Stationery pane to print place cards, tickets, badges, escort cards, invitations, thank you letters etc. We are going to create some place cards.
Stationery pane to print place cards, tickets, badges, escort cards, invitations, thank you letters etc. We are going to create some place cards.
Bring the ![]() Stationery pane to the front. Click on the
Stationery pane to the front. Click on the ![]() Stationery layout button.
Stationery layout button.
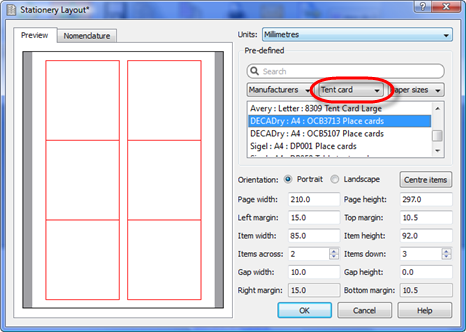
The Stationery Layout window will appear. From the filters select Tent card and then click on the DecaDry place cards. Click OK.
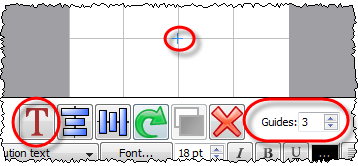
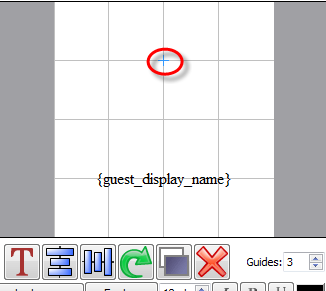
Set the number of Guides to 3 in the ![]() Stationery pane. These help to position the text. Now click on the
Stationery pane. These help to position the text. Now click on the ![]() Add text button. The cursor will change to a crosshair. Click on the bottom centre of the place card (as shown below).
Add text button. The cursor will change to a crosshair. Click on the bottom centre of the place card (as shown below).
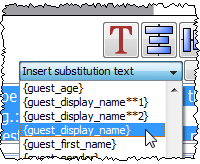
Ensure Item per is set to Guest (at the top of the pane) and select {guest_display_name} from Insert substitution text.
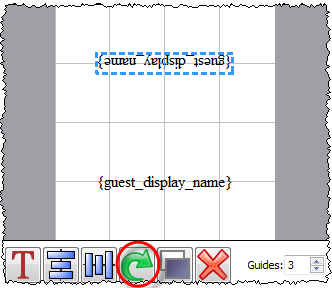
Click the ![]() Add text button again. The cursor will change to a crosshair. Click on the top centre of the place card (as shown below).
Add text button again. The cursor will change to a crosshair. Click on the top centre of the place card (as shown below).
We want the text to be displayed on both sides of the folded tent cards. Select {guest_display_name} from Insert substitution text. Click on the ![]() Rotate button twice.
Rotate button twice.
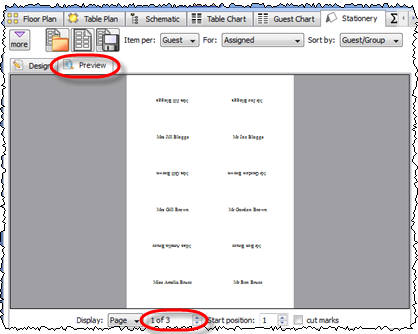
Click on the ![]() Preview tab to preview how the place cards will be printed. Notice that the text inside the curly brackets has been substituted by guest display names. Change the page number to see what each page will look like.
Preview tab to preview how the place cards will be printed. Notice that the text inside the curly brackets has been substituted by guest display names. Change the page number to see what each page will look like.
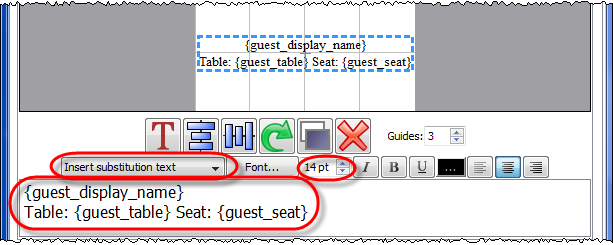
We now want to add additional text to help the staff to lay out the cards. Bring the ![]() Design tab to the front. Click on the bottom text and add the additional text as below by a combination of typing and using the Insert substitution text drop-down. Reduce the font size so the text fits on the card.
Design tab to the front. Click on the bottom text and add the additional text as below by a combination of typing and using the Insert substitution text drop-down. Reduce the font size so the text fits on the card.
Click on the ![]() Preview tab to preview the changes.
Preview tab to preview the changes.
Select File>![]() Print to print the stationery.
Print to print the stationery.
Note You can order place cards online.
Click on ![]() Save stationery to save this stationery design to use again (perhaps in another plan).
Save stationery to save this stationery design to use again (perhaps in another plan).
Save your plan using File>![]() Save.
Save.
To create address labels we would follow a similar approach, but would set Item per to Group and for the substitution text we could use:
{group_name}
{group_contact}
You can also adapt the sample stationery we ship with PerfectTablePlan.
Note You can only save, print or export plans with more than 30 guests if you have a valid licence for the software.
You have now completed the main part of the tutorial. If you want to find out how to import guests whose details you have in a spreadsheet you might also want to do the Import guests tutorial.
Next: 9. Import guests >>